

")


")


DIY Gutter Guard Installation
Each DIY gutter guard kit comes with easy-to-follow gutter guard installation and videos for each metal roof and tile roof type.
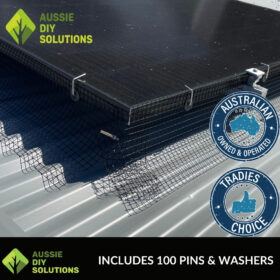
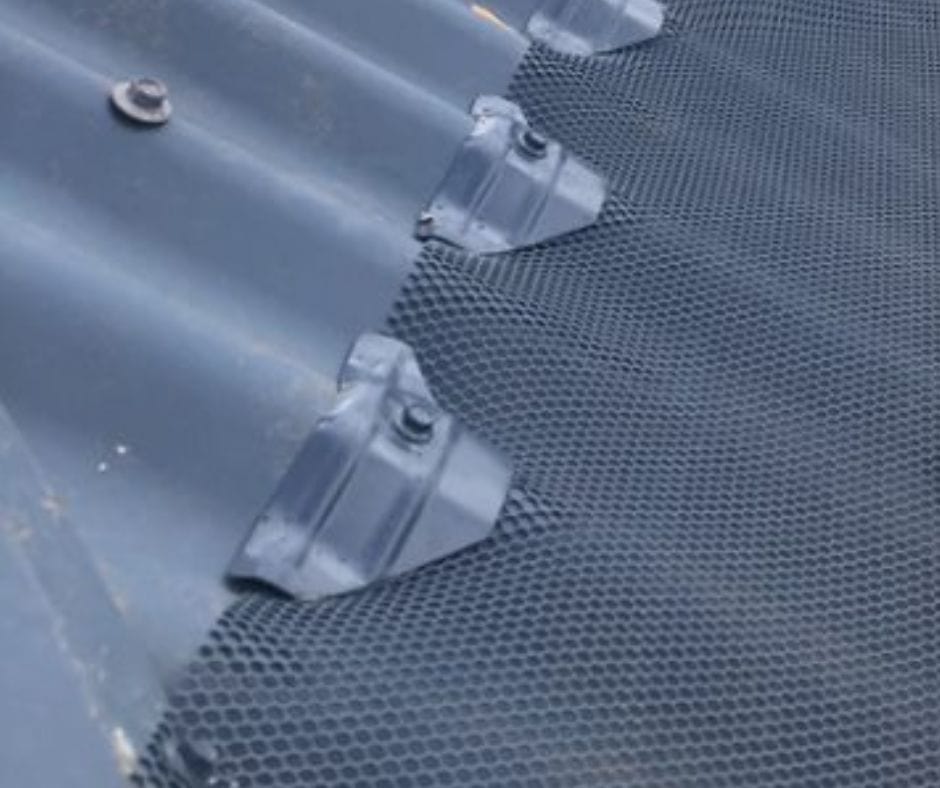
Corrugated Gutter Guard Installation
- Roll out your mesh roll along the gutter line.
- Cut away excess mesh.
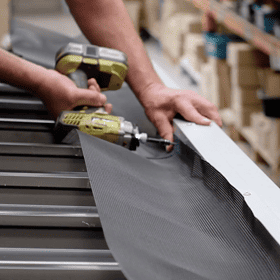
- Secure the gutter mesh with trims.
- Secure mesh to roof with corrugated clips
- Install around the ridge caps (if applicable)
- Install to tile roof valley (if applicable)
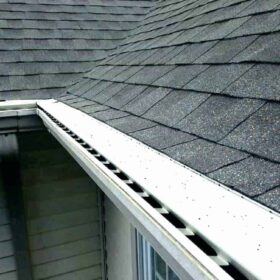
- Roll out your mesh roll along the gutter line.
- Cut away excess mesh.
- Secure the gutter mesh with trims.
- Tuck the mesh under the second row of tiles.
- Install around the ridge caps (if applicable)
- Install to tile roof valley (if applicable)
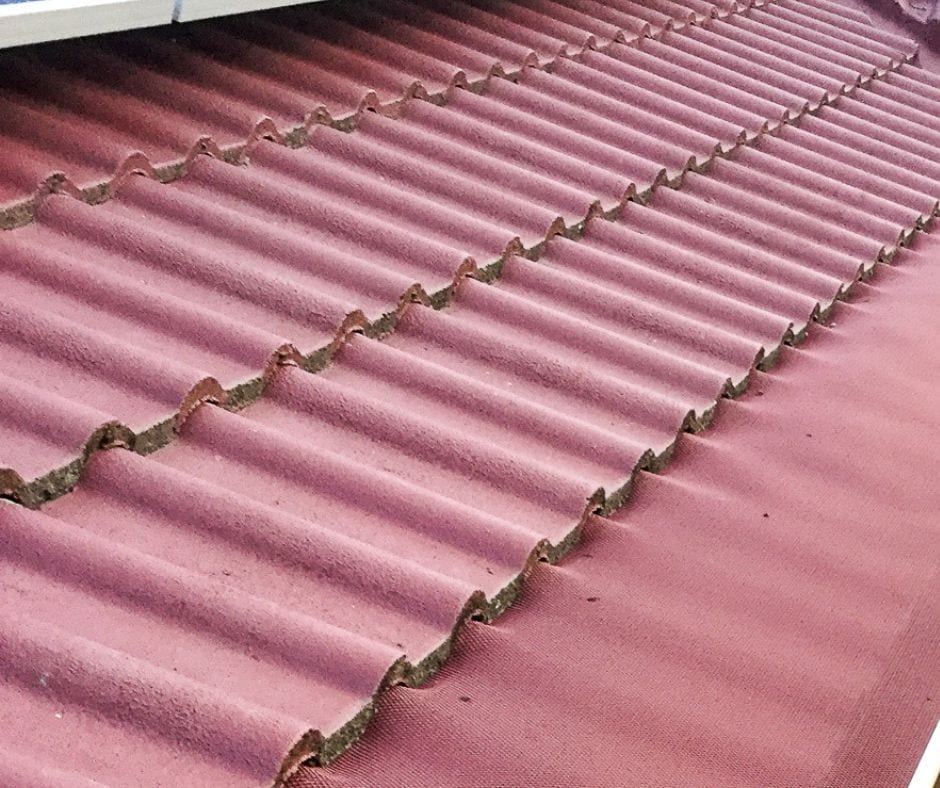
Corrugated Gutter Guard Valley Installation
- Measure valley width and cut mesh size. Ensure the mesh covers the valley and is wide enough to be tucked under tiles.
- Lay the mesh from valley top to bottom and tack if necessary.
- Cut the mesh to fit around the tiles vertically & horizontally
- Tuck the mesh under the tiles
- Cut the mesh around the ridge cap
- Silicone to seal mesh
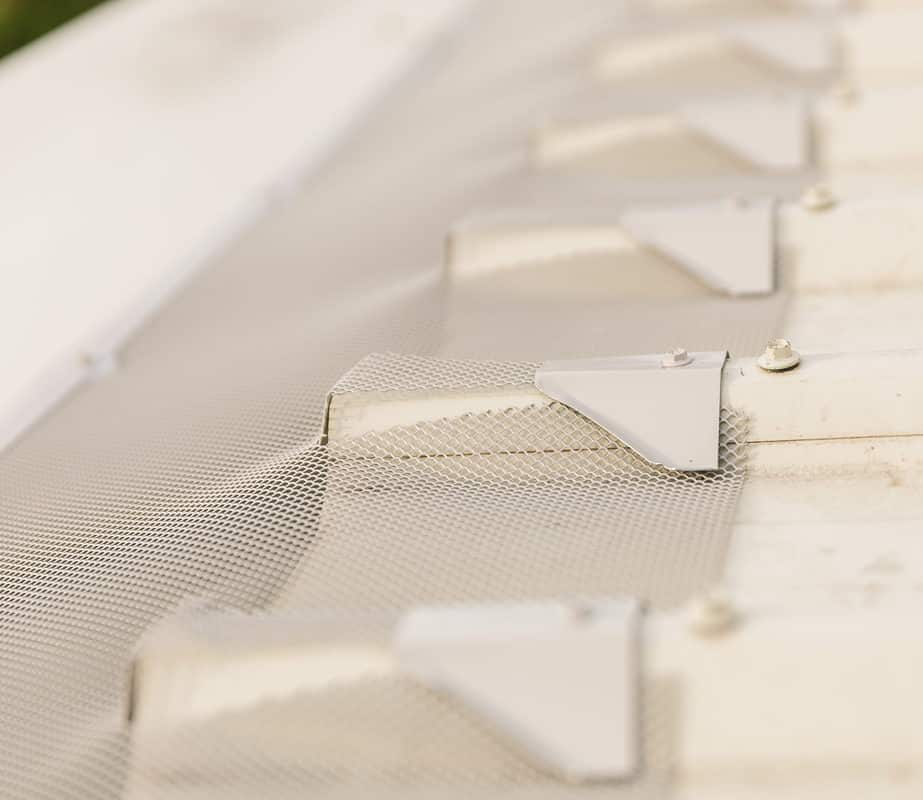
Tiled Valley Gutter Guard Installation
- Measure valley width and cut mesh size. Ensure the mesh covers the valley and is wide enough to be secured with saddles.
- Lay the mesh from valley top to bottom and tack if necessary.
- Place a saddle on each corrugation, starting from the top and working your way down. Repeat on another side.
Tip: Place saddles in reverse fit to follow roof contours.
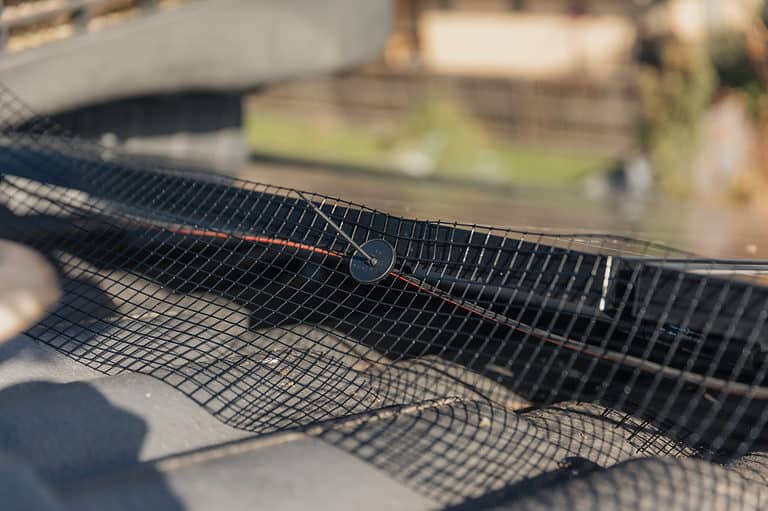
- Clean the Box Gutter
- Define the Perfect Trim Line
- Pin the Mesh to the Box Gutter
- Fit the Trims
- Cut the Mesh Down Along the Ribs
- Secure the Mesh to the Ribs with Clips
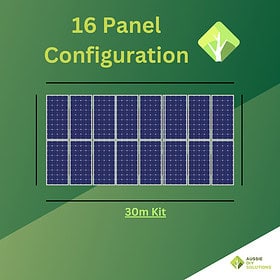
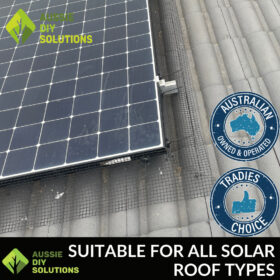
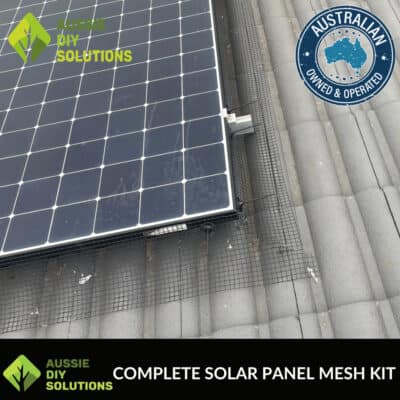
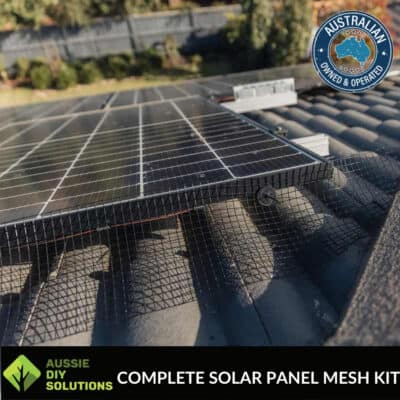
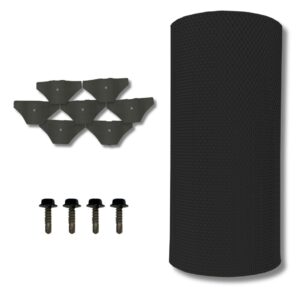
Solar Panel Mesh Instructions

- Cut mesh to solar mesh size
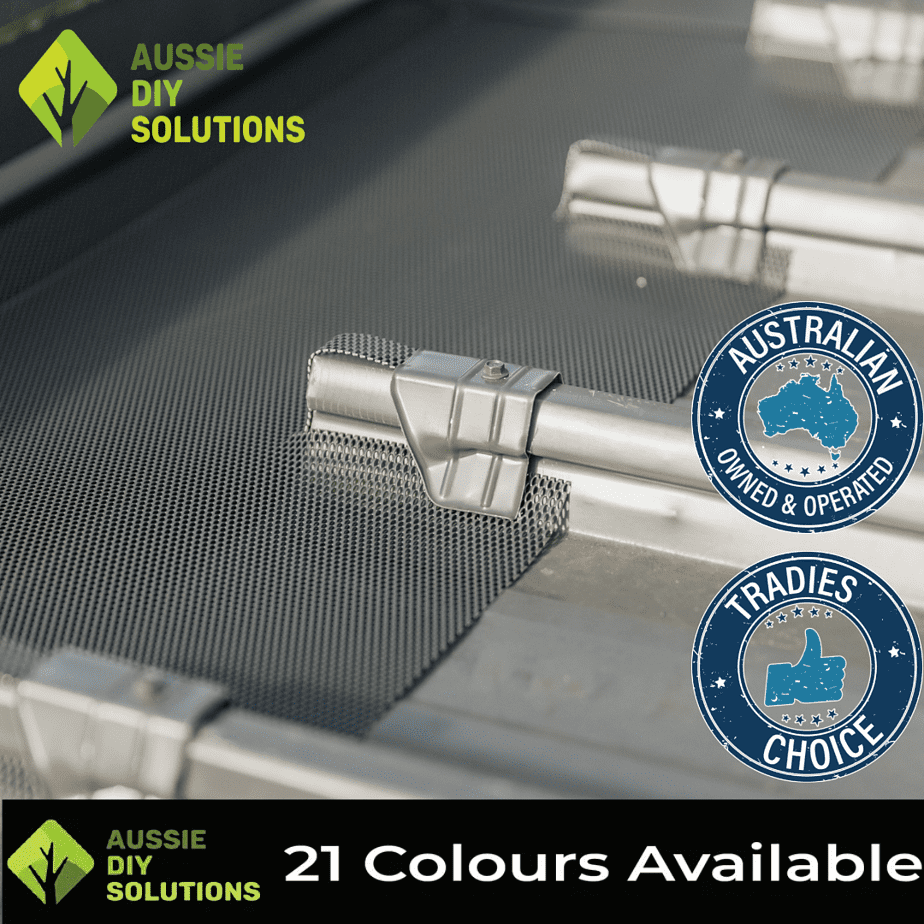
- Installing the mesh to the panels
- Fix the mesh to the solar panels with clips and washers
- Bend the mesh to outside corners & inside corners
OUR BEST SELLERS
-
 Bird Proofing
Universal Mesh Corrugated Gutter Guard Valley Kit
$89.00 Select options This product has multiple variants. The options may be chosen on the product page -
 Bird Proofing
Universal Mesh Corrugated Gutter Guard Kit
$75.00 – $489.00Price range: $75.00 through $489.00 Select options This product has multiple variants. The options may be chosen on the product pageRated 5.00 out of 5
Mesh Comparison
| Features | High-Performance Mesh | Universal Mesh | Ember Mesh | Bushfire Mesh |
|---|---|---|---|---|
|
Leaf Proofing |
✅ |
✅ |
✅ |
✅ |
|
Bushfire BAL Rating |
❌ |
❌ |
Up to BAL-29 |
Up to BAL-40/FZ |
|
AS4020 (Drinking Water) |
✅ |
❌ |
❌ |
❌ |
|
Bird-Proofing |
✅ |
✅ |
✅ |
✅ |
|
Material |
Aluminium |
Aluminium |
Aluminium |
Stainless Steel |
|
Powder-Coating |
✅ |
✅ |
✅ |
✅ |
|
Colours |
25+ |
25+ |
25+ |
5 |
|
Warranty |
25 Years |
20 Years |
15 Years |
25 Years |
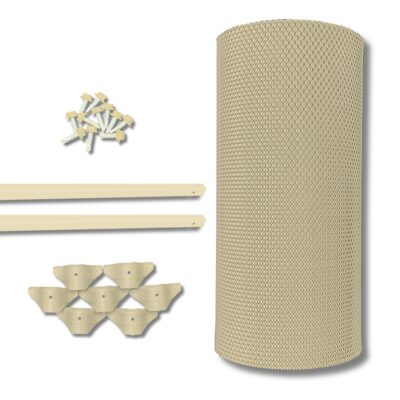
DIY GUTTER GUARDS
- Aluminium gutter mesh roll
- Ember guard installation option
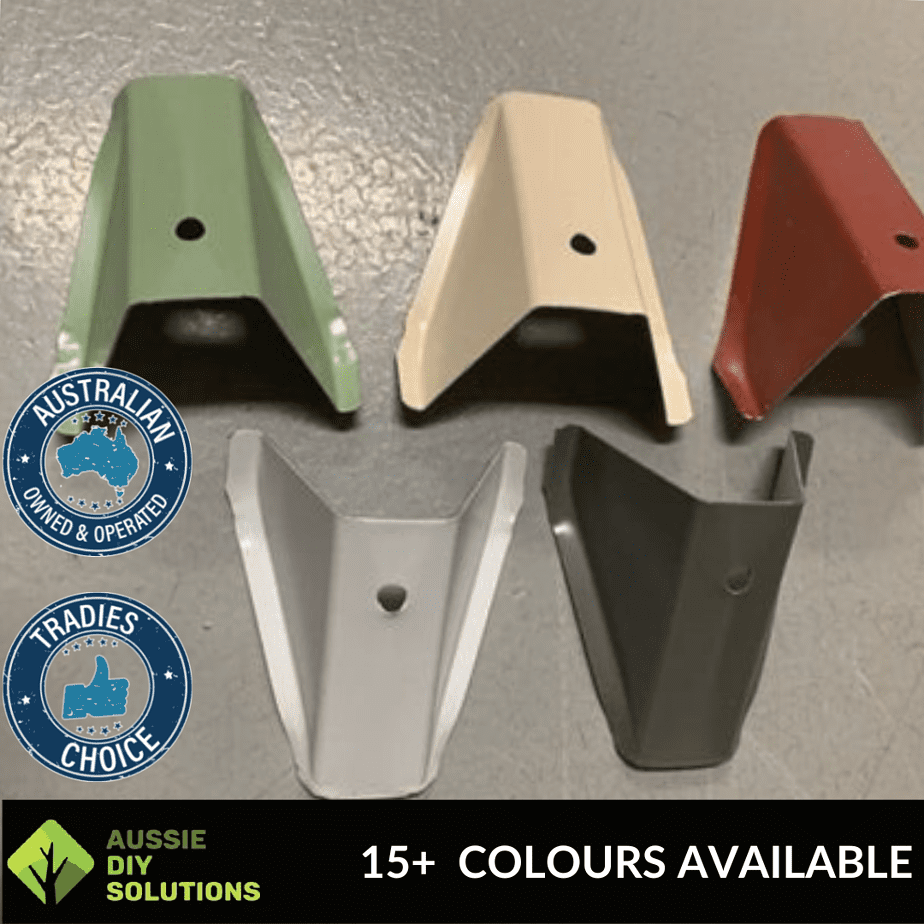
- Colorbond® Saddles & Trims
- Roof screws
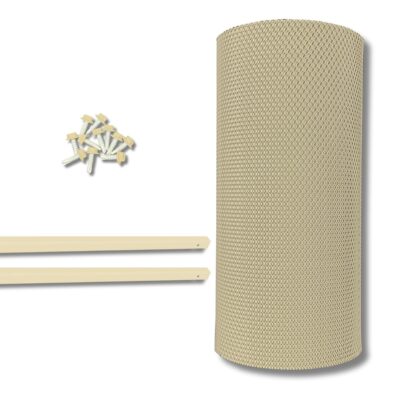
- Aluminium gutter mesh roll
- Ember guard installation option
- Colorbond® Trims
- Roof screws
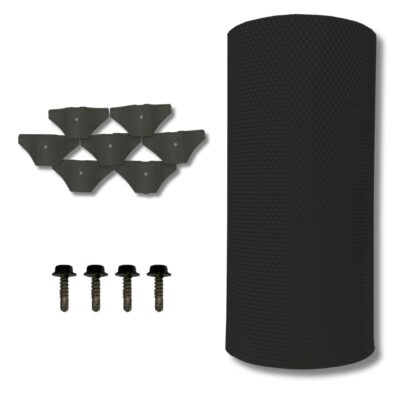
- Aluminium gutter mesh roll
- Ember guard installation option
- Colorbond® Saddles & Trims
- Roof screws
- Aluminium gutter mesh roll
- Ember guard installation option
- Colorbond® Saddles & Trims
- Roof screws
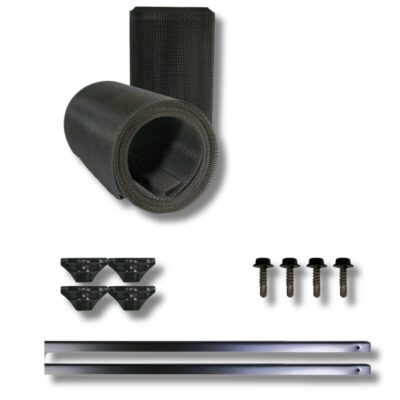
- Stainless steel mesh roll
- Clips for DIY installation
- Tiled roof installation process
- Metal roof installation process
Our Customers Love Our Products


Gutter Guard Installation FAQs
How do I install the gutter guard kits?
Our kits come with easy-to-follow instructions and videos for both corrugated and tiled roof installations.
Do I need any special tools for installation?
Basic tools such as a ladder, drill, and tin snips are usually sufficient for installing our gutter guard kits.
Can I install the gutter guards myself?
Absolutely! Our DIY kits are designed for easy installation, even for those with minimal DIY experience.
How long does it take to install the gutter guards?
Installation time can vary depending on the size of your roof, but most installations can be completed in a few hours.
Are there any safety precautions I should take during installation?
Yes, always ensure you have a stable ladder and wear appropriate safety gear such as gloves and safety glasses.
Can the gutter guards be installed on any type of roof?
Our gutter guard kits are designed to fit various roof types, including corrugated, Trimdek®, Klip-Lok®, and tile roofs.
What should I do if I encounter any issues during installation?
If you encounter any issues, please refer to our detailed installation guides and videos, or contact our customer support for assistance.
Do you offer professional installation services?
While our kits are designed for DIY installation, we can recommend professional installers if you prefer.
How do I maintain the gutter guards after installation?
Our gutter guards require minimal maintenance. Simply check for any debris buildup and clean as needed to ensure optimal performance.
Are the installation instructions available online?
Yes, you can find detailed installation instructions and videos on our website.