

")


")


- Select options This product has multiple variants. The options may be chosen on the product page
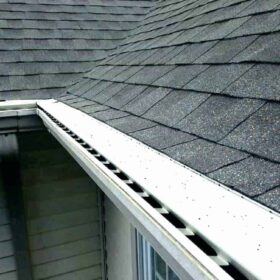
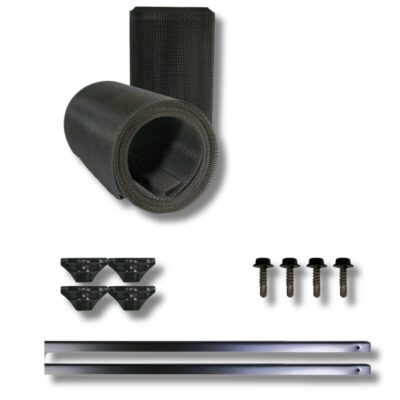
High Performance Tile Gutter Guard Kit
Price range: $149.00 through $359.00
- Select options This product has multiple variants. The options may be chosen on the product page
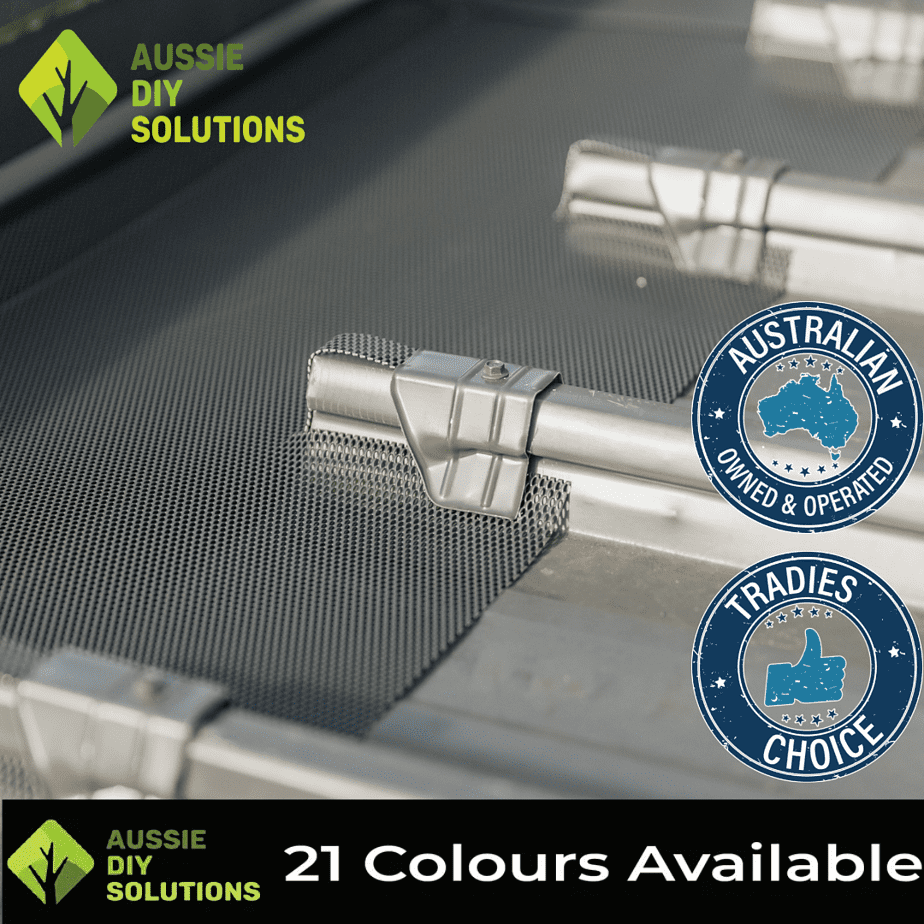
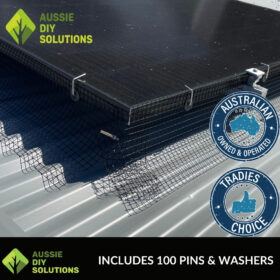
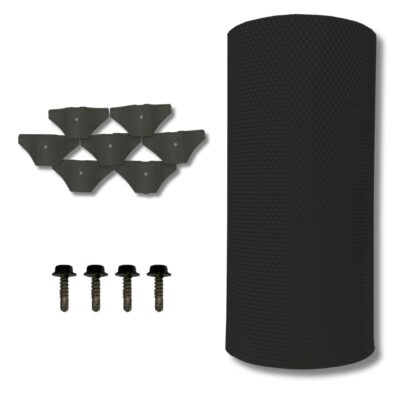
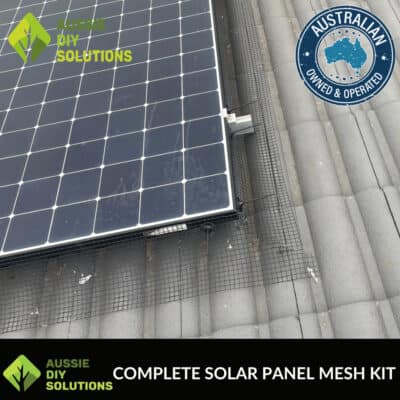
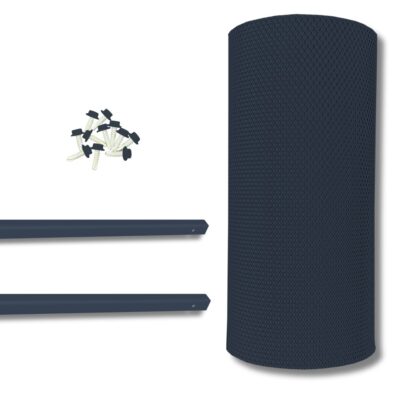
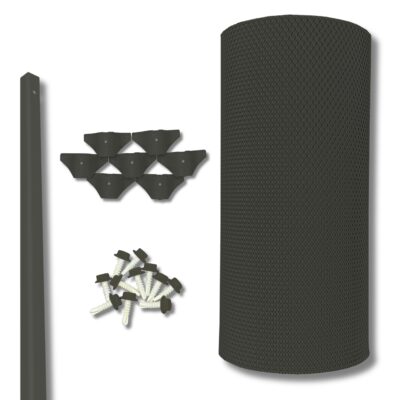
High Performance Mesh Corrugated Gutter Guard Kit
Price range: $149.00 through $359.00
- Select options This product has multiple variants. The options may be chosen on the product page
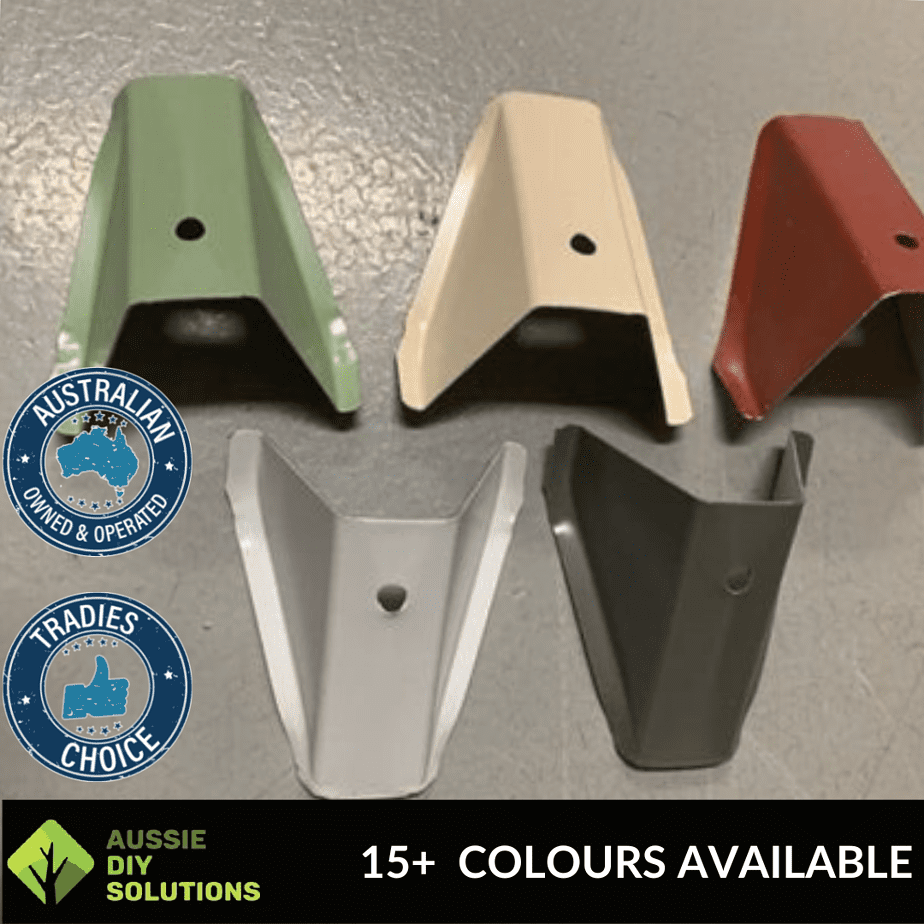
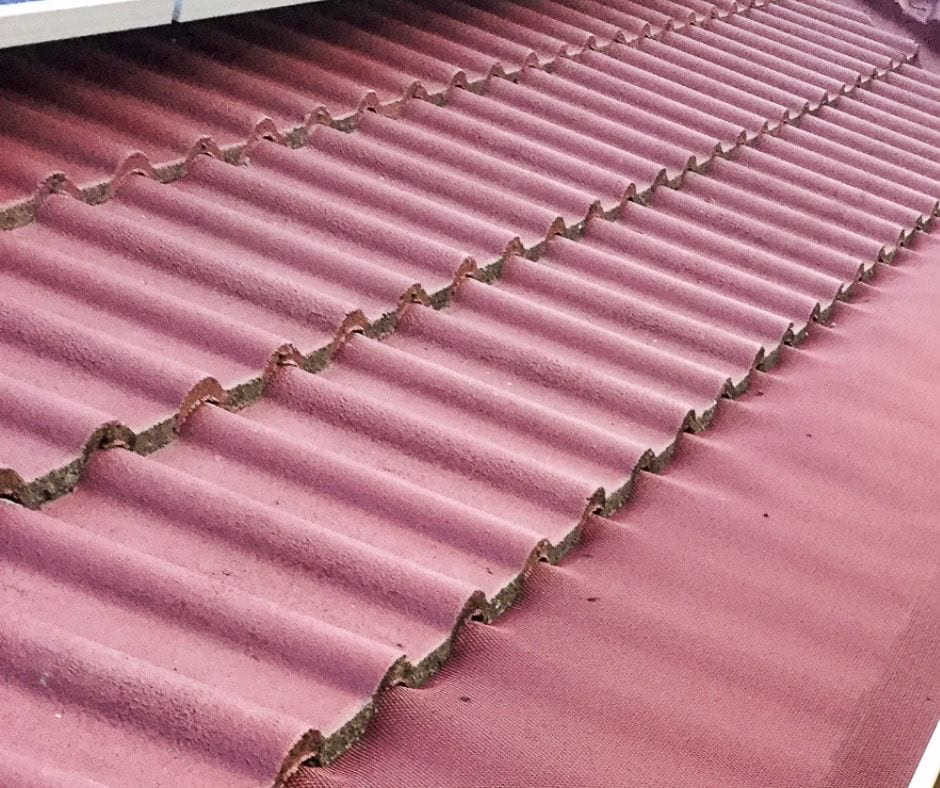
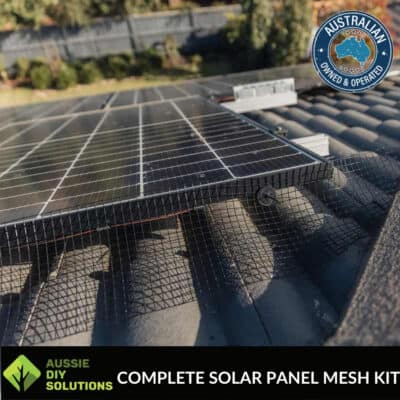
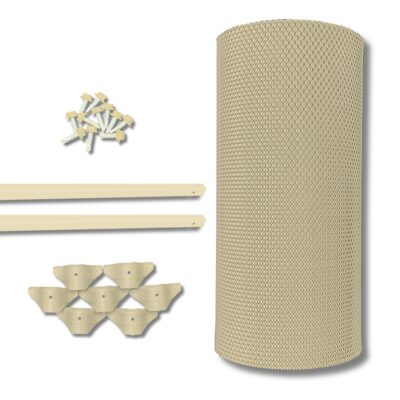
Universal Mesh Tile Gutter Guard Kit
Price range: $75.00 through $489.00
- Select options This product has multiple variants. The options may be chosen on the product page
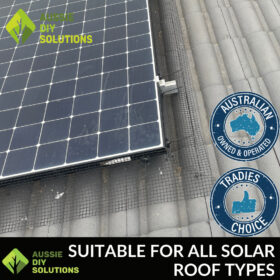
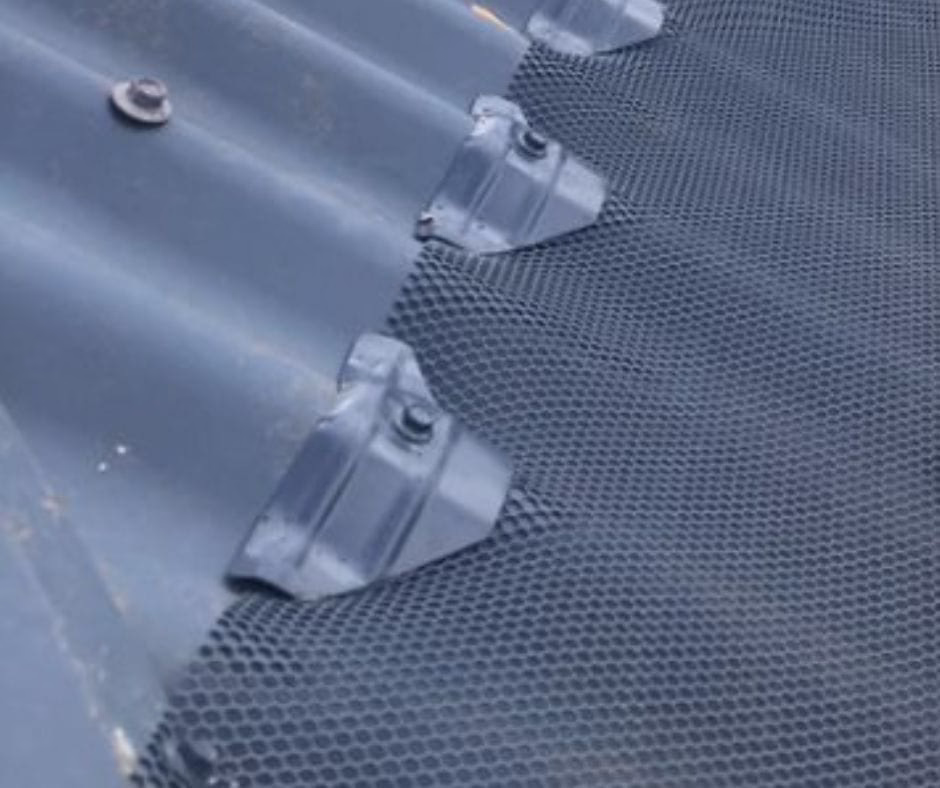
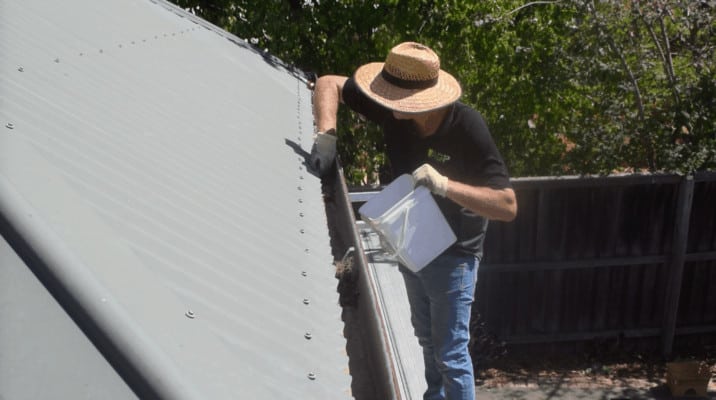
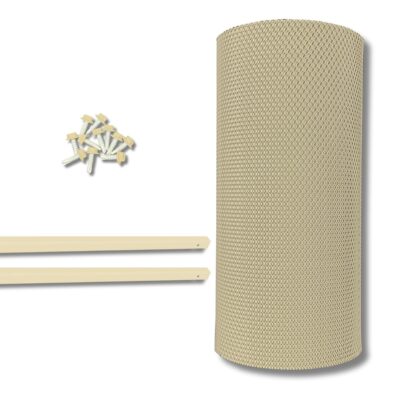
Universal Mesh Corrugated Gutter Guard Kit
Price range: $75.00 through $489.00