Quick Guide: Tiled Roof Installation
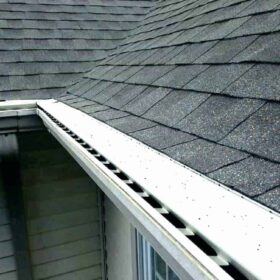
Here is a quick guide on how to install gutter guards on a tiled roof:
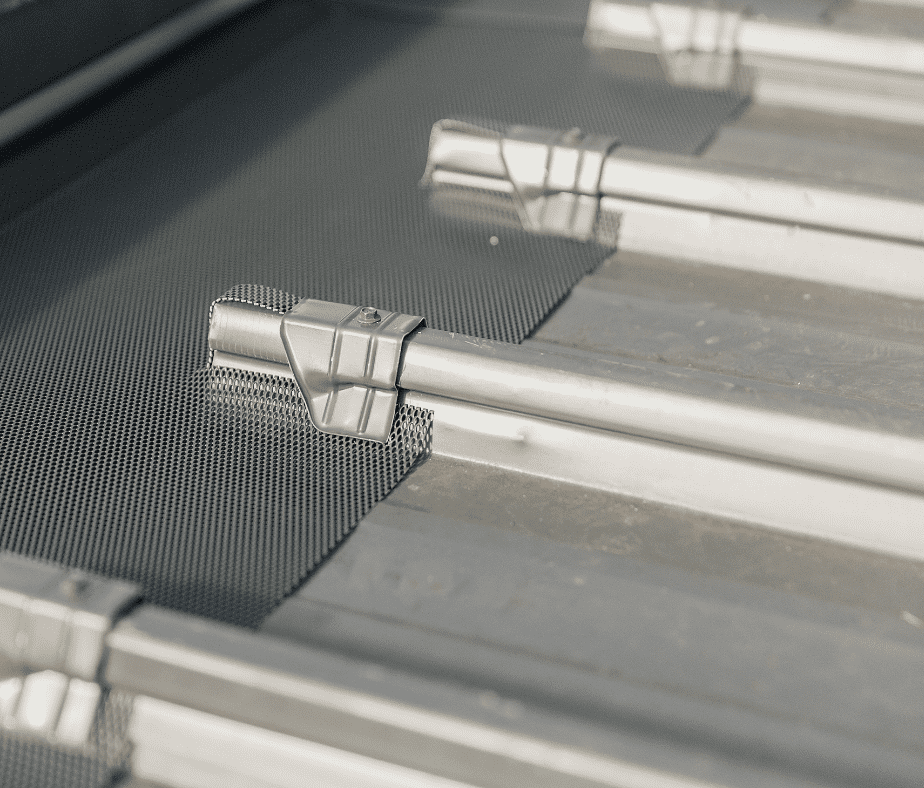
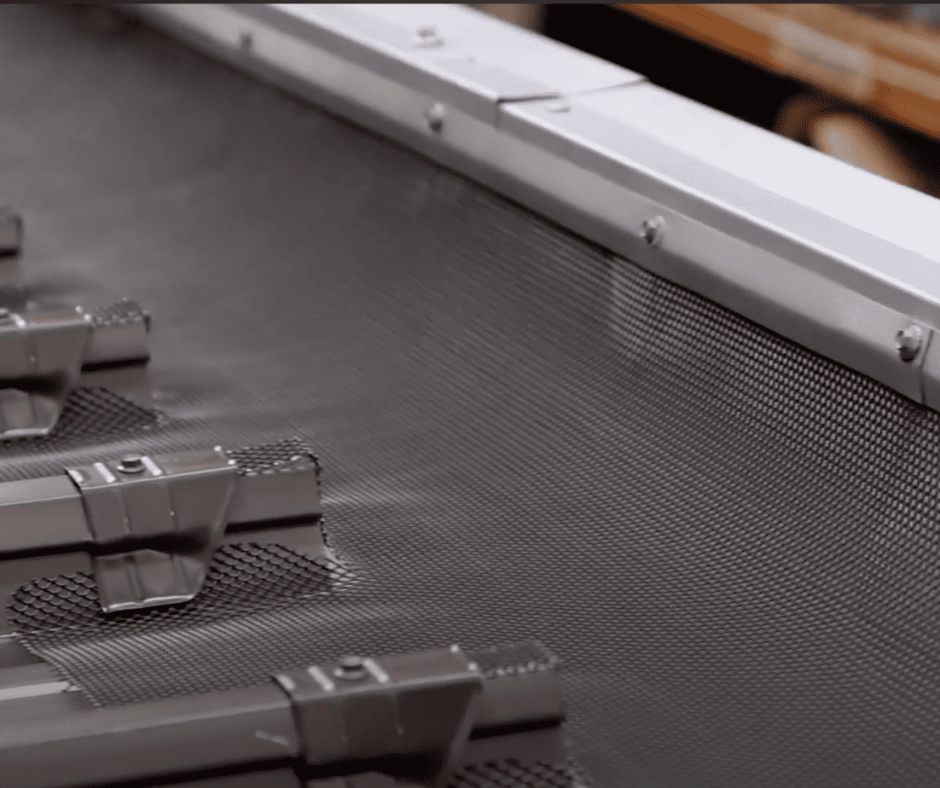
- Roll out your mesh roll along the gutter line.
- Cut away excess mesh.
- Secure the gutter mesh with trims.
- Tuck the mesh under the second row of tiles.
- Install around the ridge caps (if applicable)
- Install to tile roof valley (if applicable)
Continue reading for more detailed steps to install gutter guards for tiled roofs.
Tools Required:
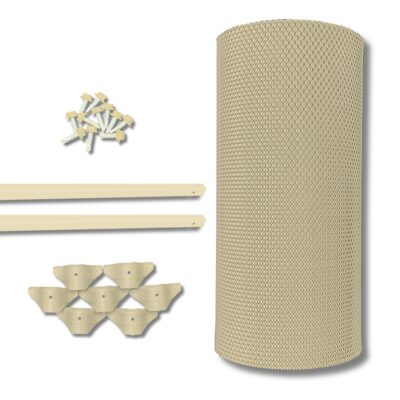
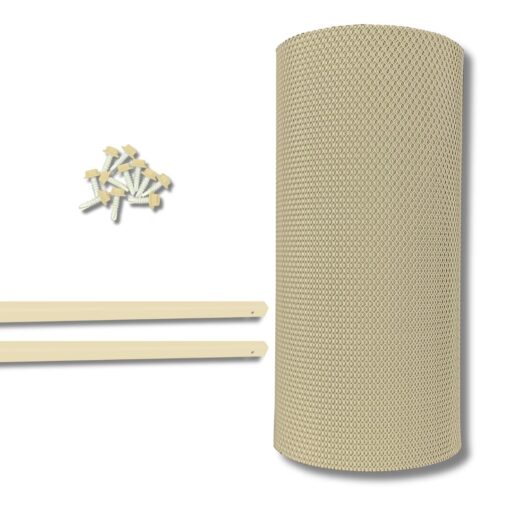
- DIY Gutter Guard Kit
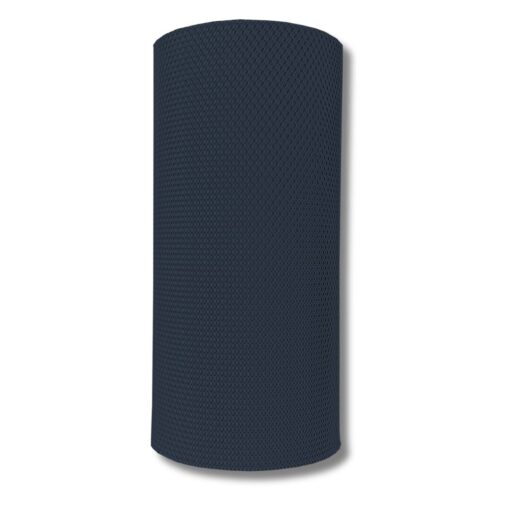
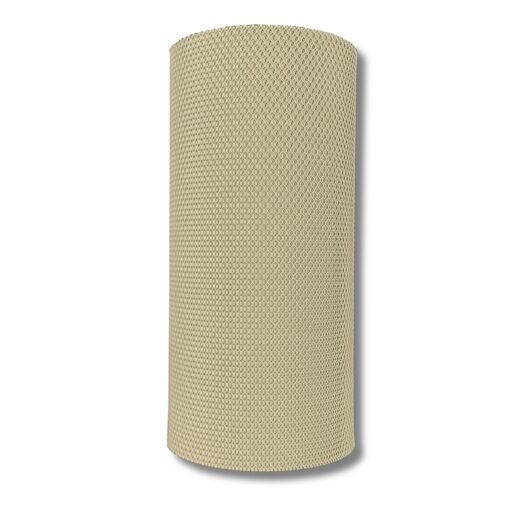
- Gutter Guard Mesh
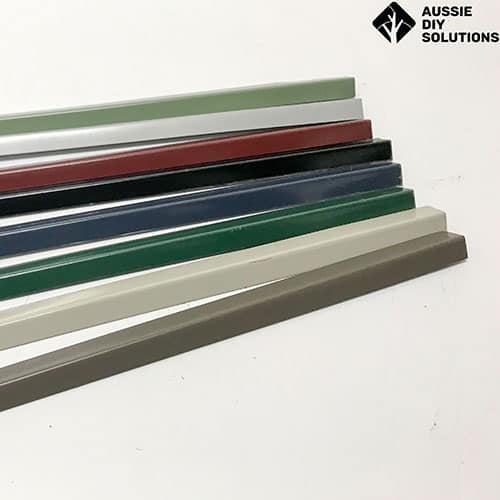
- Colorbond Gutter Guard Trims
- Roofing Screws
- Power drill
- Tinsnips or Cutting tool
- Silicon or flexi point
- Flat head screwdriver (can use flat head cutting tool)
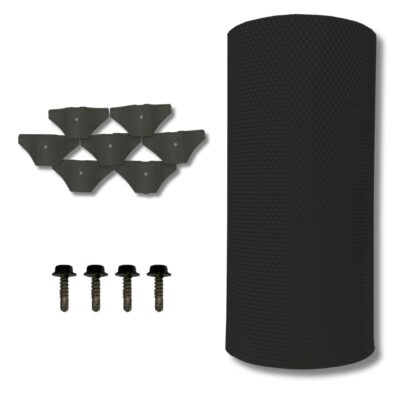
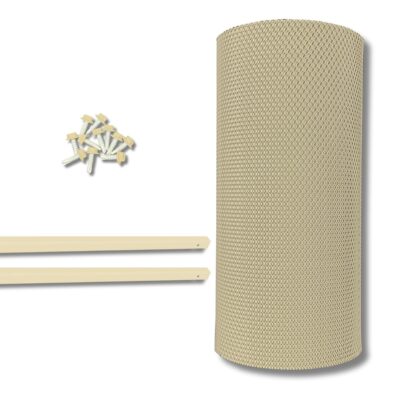
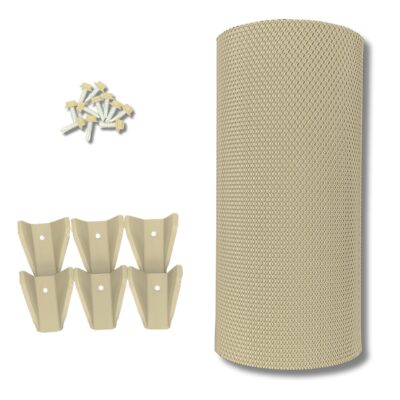
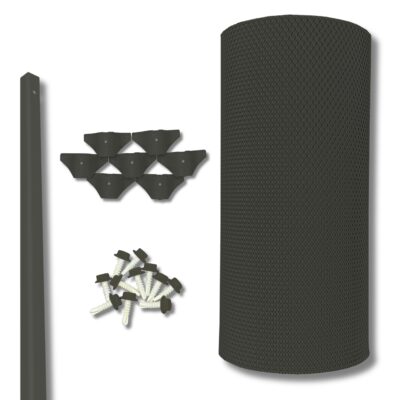
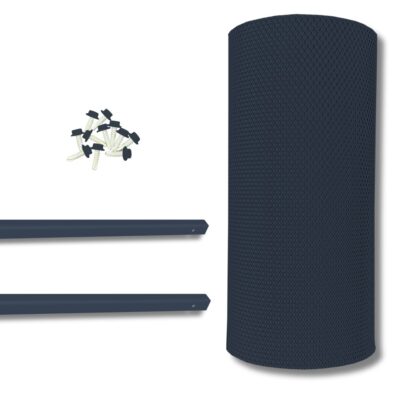
High Performance Tile Gutter Guard Kit
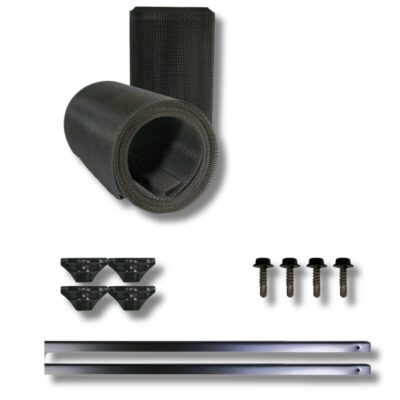
High Performance Tile Valley Gutter Guard Kit
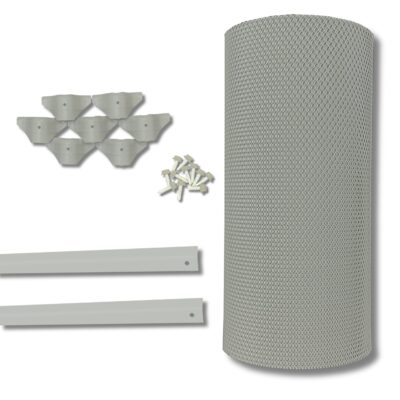
Universal Mesh Tile Gutter Guard Kit
Universal Mesh Tile Gutter Guard Kit
Universal Mesh Tile Gutter Guard Valley Kit
Safety Precautions:
- Always use safety equipment such as gloves, shoes and protective wear.
- Work in calm weather conditions to avoid the risks of strong winds or rain.
- Use a stable ladder and ensure it is placed on a flat surface.
- Follow all safety heights regulations for your local area, or consider hiring a professional.
Gutter Guard Tiled Roof Installation
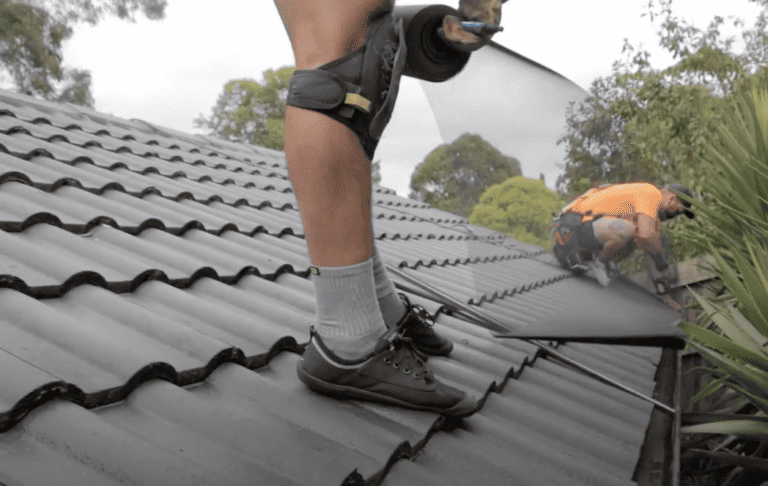
1. Roll out your mesh roll along the gutter line.
Tip: For long runs, you can secure the mesh with roofing screws every few metres. This ensures you secure the gutter guard mesh to the gutter’s edge using screws.
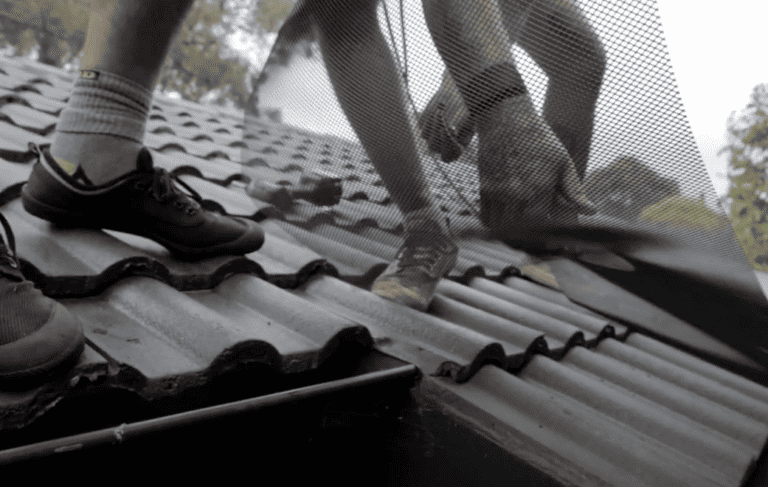
2. Cut away excess gutter mesh
Tip: Leave a small overlap at the end of the gutter length.
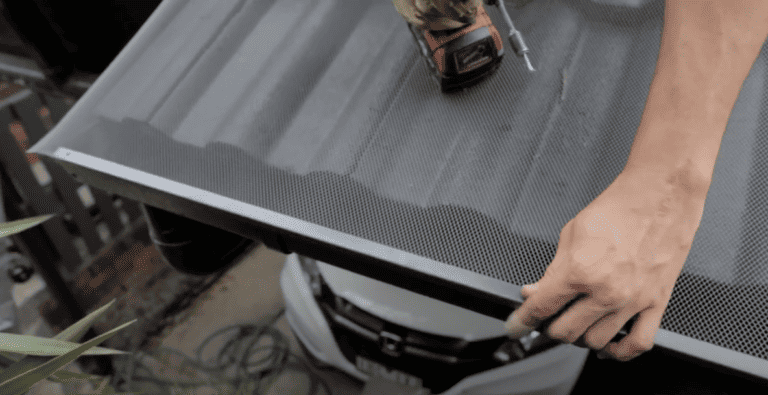
3. Secure the gutter mesh with trims
Tip: Screw the trim in place every 250 mm, ensuring the holes overlap at each trim end for a sturdy fit.
To join trims, make a small overlap and use the pilot hole to drill through both trims and mesh to gutter.
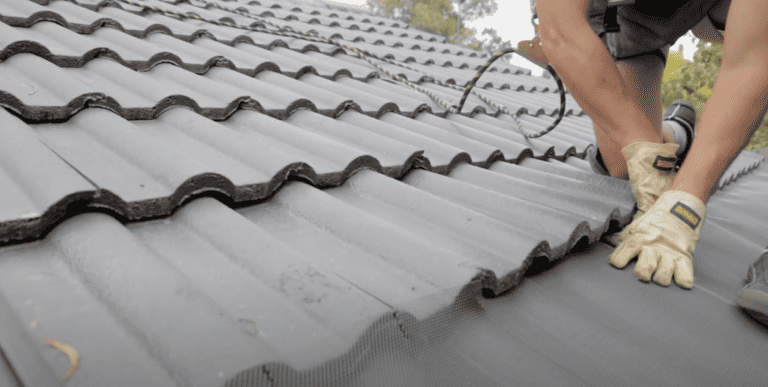
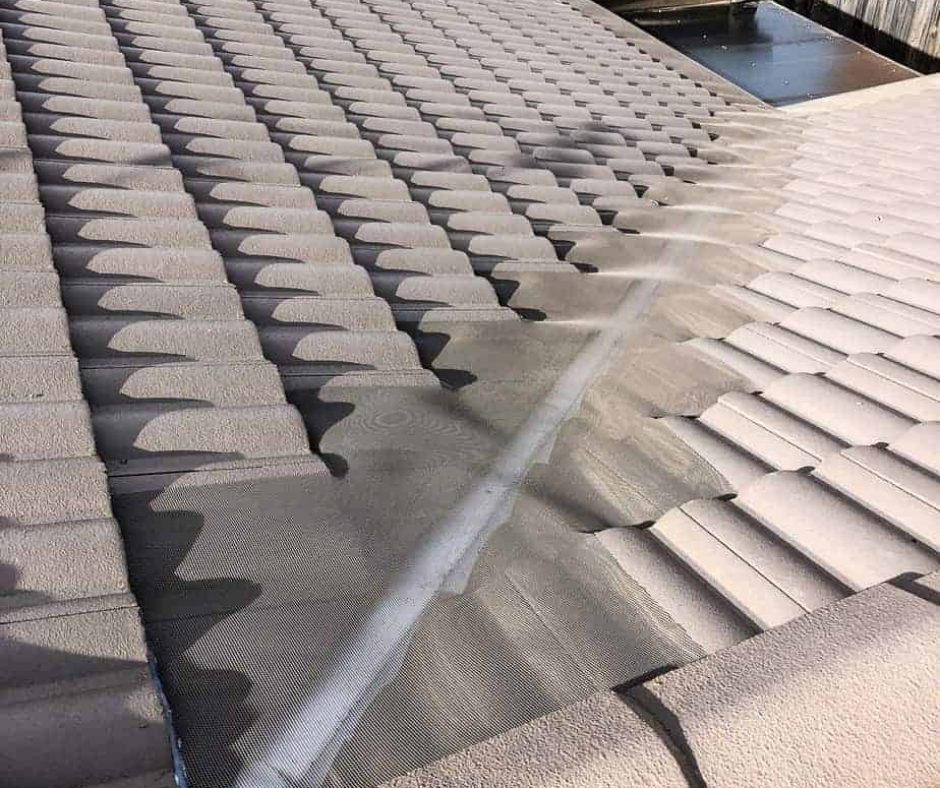
4. Tuck the mesh under the second row of roof tiles
Tip: Make 2-3 relief cuts per tile for the best fit. Slide the top half of the mesh under the second course of roof tiles or lift and tuck the flaps, then pull the tiles down onto the mesh and press firmly in place.
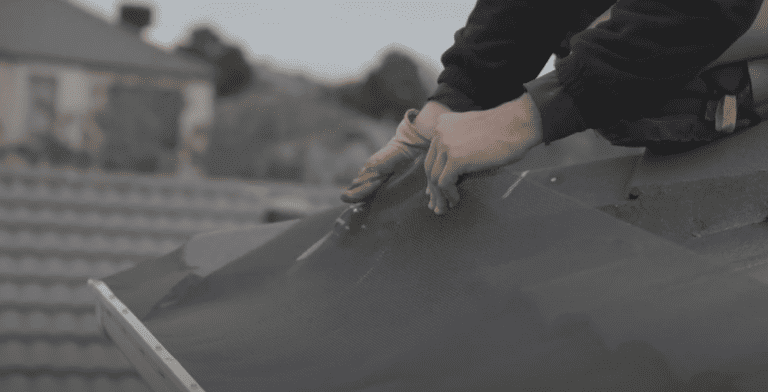
5. Install gutter guard mesh to the ridge caps (if applicable)
- Cut the gutter guard mesh around the ridge caps for a snug fit.
- Secure the mesh to the gutter using angle trim.
- Roll out the mesh, ensuring you allow a flap for tucking under tiles.
- Create relief cuts along the mesh for adaptability.
- Cut across the nose of the second course of tiles, leaving about 10-15mm extra.
- Again, when cutting around the cap, ensure you allow 10-15mm extra space.
- Make a mitre join for the edges and tuck the mesh flaps under the tiles.
- Firmly press the mesh onto the tiles and apply silicone for an enduring bond.
6. Install gutter guards to tiled roof valley (if applicable)
Tiled roof installation to a valley requires additional steps, including:
- Roll the gutter mesh down the roof valley, ensuring you roll it out evenly. Tip: Allow some extra gutter guard mesh to extend past your gutters.
- Cut around the ridge capping, leaving about 10-15mm extra for silicone or flexi-point application.
- Attach the mesh securely to the capping.
- Make cuts along the edge of the roof tiles, always allowing a flap for tucking.
- Gently lift the tiles and tuck the mesh flaps underneath.
- Maintain tension in the mesh for a smooth finish, cutting flaps on both sides of the valley.
- Continue lifting tiles and tucking flaps until you cover the valley’s length.
Congratulations, you’ve just installed a gutter guard on your tiled roof! With your newly installed gutter guards, you can look forward to a more resilient roof and gutter system capable of withstanding Australia’s diverse weather conditions. Regular maintenance and checks will ensure your gutter guards provide optimal protection for many years.
Our DIY Gutter Guard Kits: A Closer Look
Universal Mesh Tile Gutter Guard Kit
High Performance Tile Valley Gutter Guard Kit
High Performance Tile Gutter Guard Kit
Universal Mesh Tile Gutter Guard Kit
Universal Mesh Tile Gutter Guard Valley Kit
At Aussie DIY Solutions, we offer a wide range of gutter guards to suit every possible DIY budget. We provide gutter guard kits & ember guard kits for corrugated, tiled, trimdek® and Klip-Lok® roofs and kits for box gutters and roof valleys. We also provide solar panel mesh for solar panel protection from birds.


