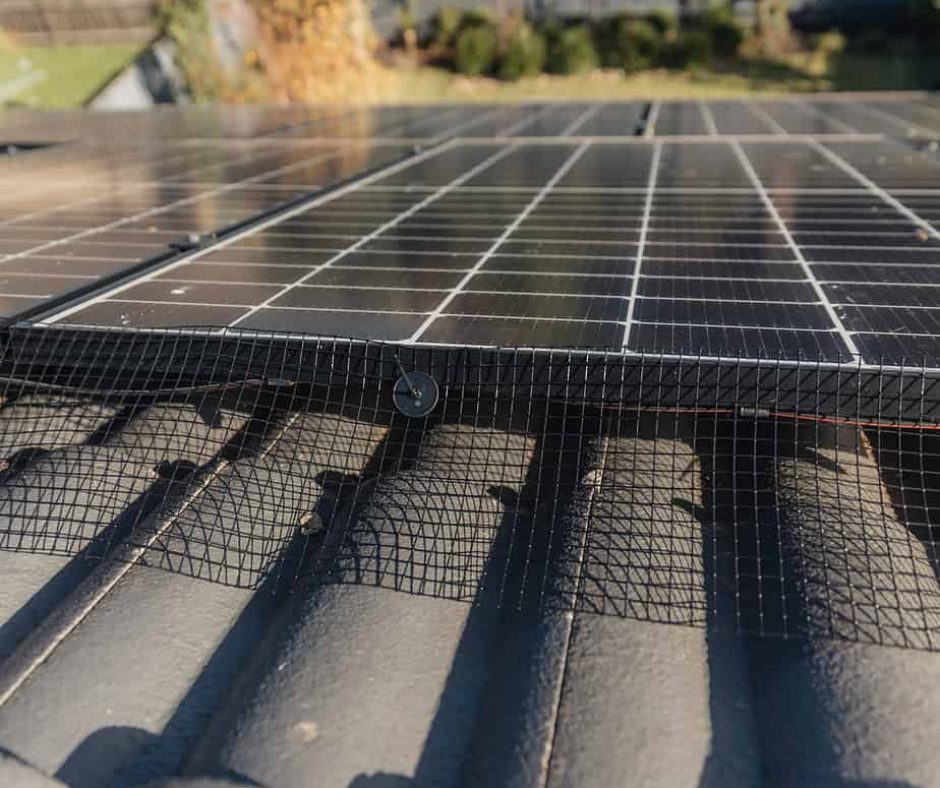
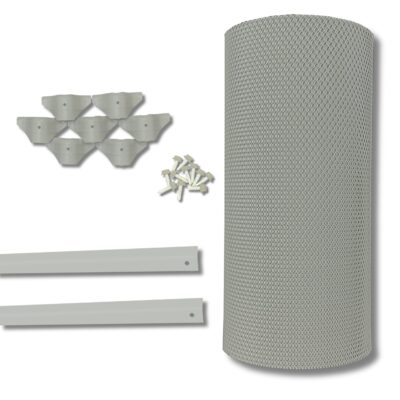
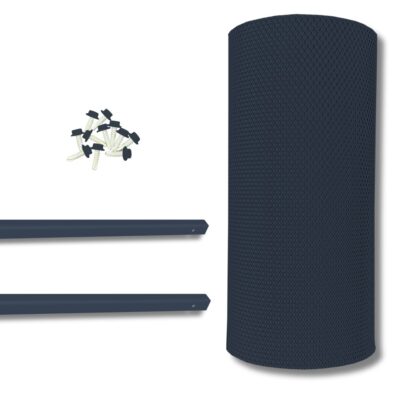
Gutter guards are an incredibly important addition to any home, protecting your property against the many dangers from a blocked gutter and preventing infestations from pests and vermin. However, in order for them to be work as effectively and efficiently as they are designed to, they need to be installed to the property correctly.
The vast majority of gutter guards can be installed at home by DIY enthusiasts and only require a few tools.
If you are thinking of installing new mesh panel guards on your property or are looking to replace your existing and worn guards, then we have put together our step-by-step guide to help you:
Quick Instructions:
How to install gutter guard on metal roof
- Clean your gutters
- Measure the gutter guard mesh
- Cut the mesh
- Fix the gutter guard to the gutter edge with trim.
- Screw the mesh to the roof with saddles
- Repeat on all property sections
Preinstallation
Safety
Before looking at how to install gutter guards to your property, one of the first things you need to be aware of is the correct way to work at height. In order to install guards, you will be required to climb a ladder and potentially work from a significant distance above the crowd.
Working at height, no matter how small you might think it is, can be incredibly hazardous and in order to reduce the risks posed there are a number of steps that you can take:
- Utilise a safety harness for projects at a significant height
- Ensure you are wearing non-slip shoes and suitable clothing to protect against the elements
- Avoid working in wet weather
- Keep all material tidy, as this can prevent slips and trips
- Ensure all ladders are on an even and flat ground
- Be aware of all wires and power lines
- Keep children and pets away from the working area
- Use a safe bracket to reduce the risk of the ladder slipping or damaging your property
- Wear gloves where relevant to protect your hands and enhance your grip
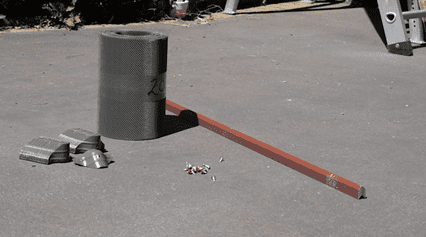
Gutter guard tools
Alongside these safety precautions, it is also important to ensure that you have the right tools and equipment before you start. This includes:
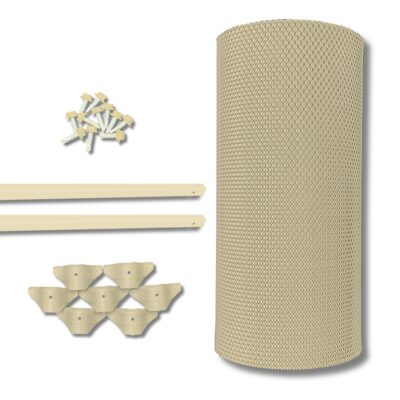
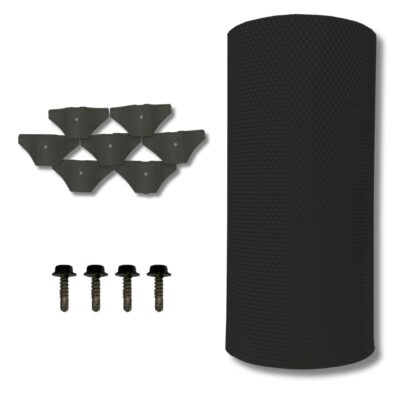
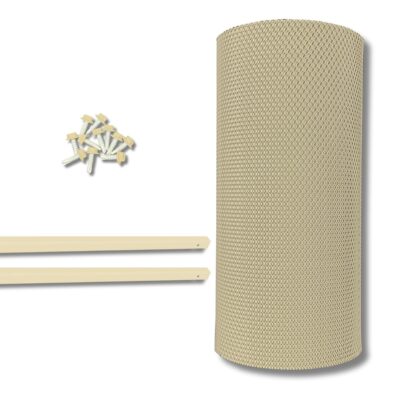
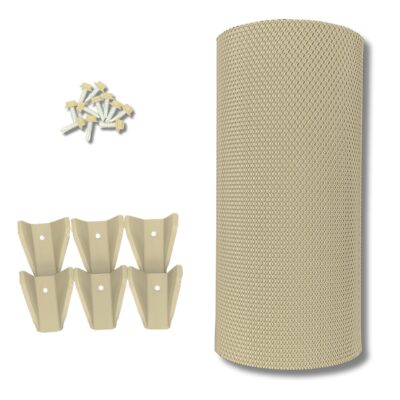
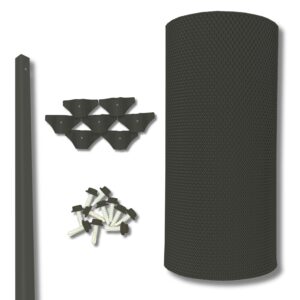
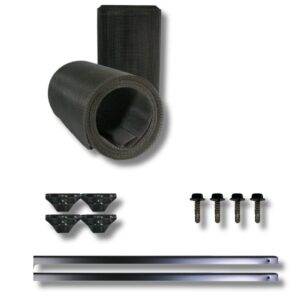
- Mesh
- Saddles/clips
- Roofing screws
- Trims
- Drill or screw gun with the correct bits
- Tin snips
- Garden hose & bucket (to clean gutters)
- All relevant safety equipment.
Once you have made yourself aware of the various safety rules and gathered your tools, it is time to start installing your gutter guard. To ensure that your guard is affixed to the property correctly and works as efficiently as possible, we have put together our seven-step guide to installing yours correctly.
How to install your gutter guard
1. Clean your gutters

Before you can even begin to think about installing a guard on your gutters, you must clean the entire system as thoroughly as possible. Removing all the debris before you attach your guard will ensure that it is not only as secure as possible but the chances of your gutters becoming clogged are at the lowest possible risk.
To do this, you should remove as much physical debris as possible before washing the system through with a hose. Be careful, though, as the water used to clean the system can make your gutters very slippery, which increases the chance of an accident.
Your roof and guttering system can be sharp, so ensure that you are wearing a set of robust gloves when you are cleaning it out as this will prevent your hand from becoming scratched or cut as you complete the task.
-
$149.00 – $359.00Price range: $149.00 through $359.00
-
$90.00 – $369.00Price range: $90.00 through $369.00
2. Measure the mesh

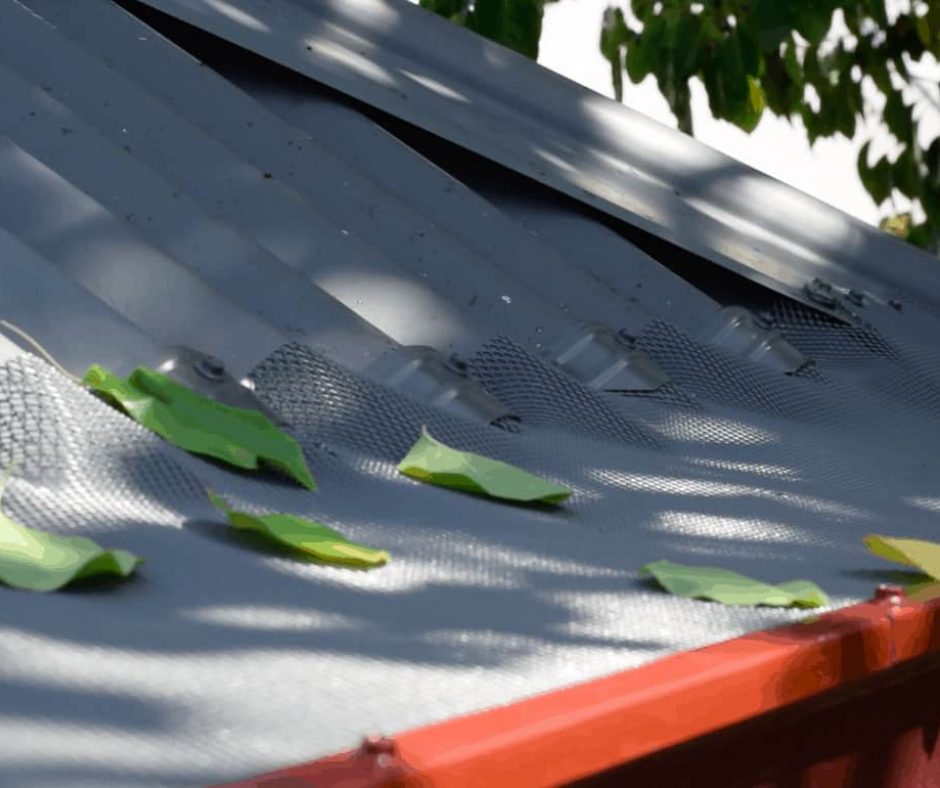
Once you have fully cleaned your gutters, the next step is to ensure that you measure the amount of mesh required. To do this, roll your mesh out slowly, starting from one end of the gutter all the way up to the end of the current section you are working on.
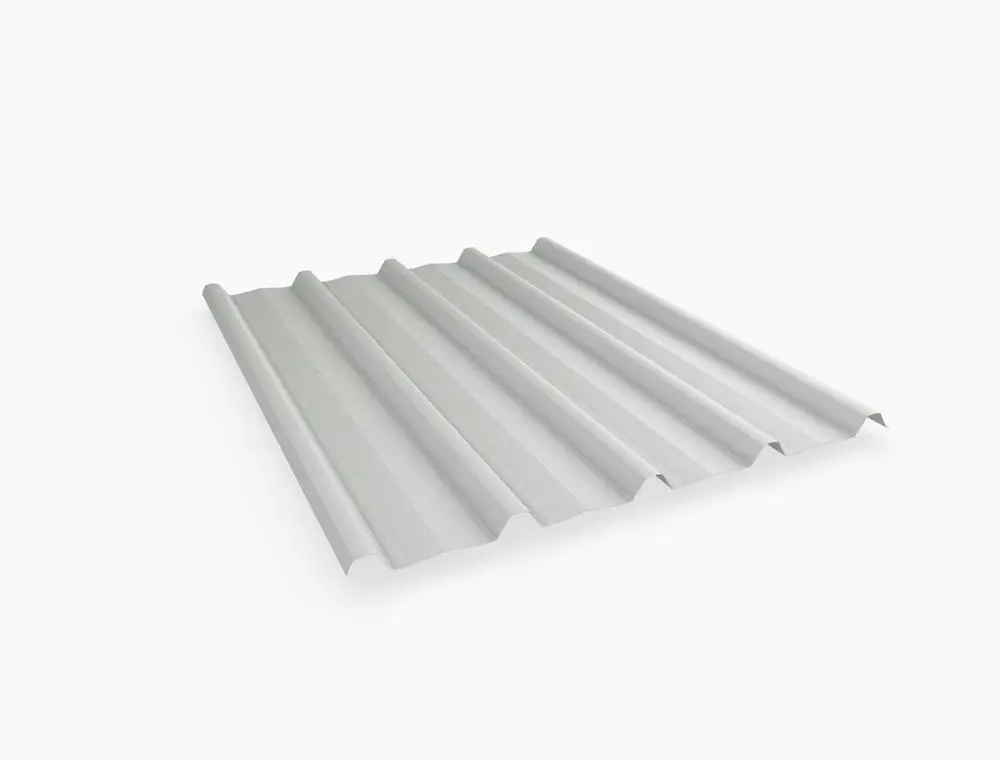
When you have that, cut off the remaining roll, but ensure that you leave a little overlap at each end to ensure you can fully securely the mesh guard to the property. 20-30cm is about right. When unrolling your mesh guard, as long as making sure you have enough length, you should also ensure that the depth is suitable enough to cover from the roof to the far lip of your gutter pipe.
It is also important to be aware of the screw line. You can attach the mesh either below, on or above the screw line, but whichever way you choose, it’s important to check the mesh is secured tight to the roof so debris can’t get underneath.
3. Fix the mesh in place with trim

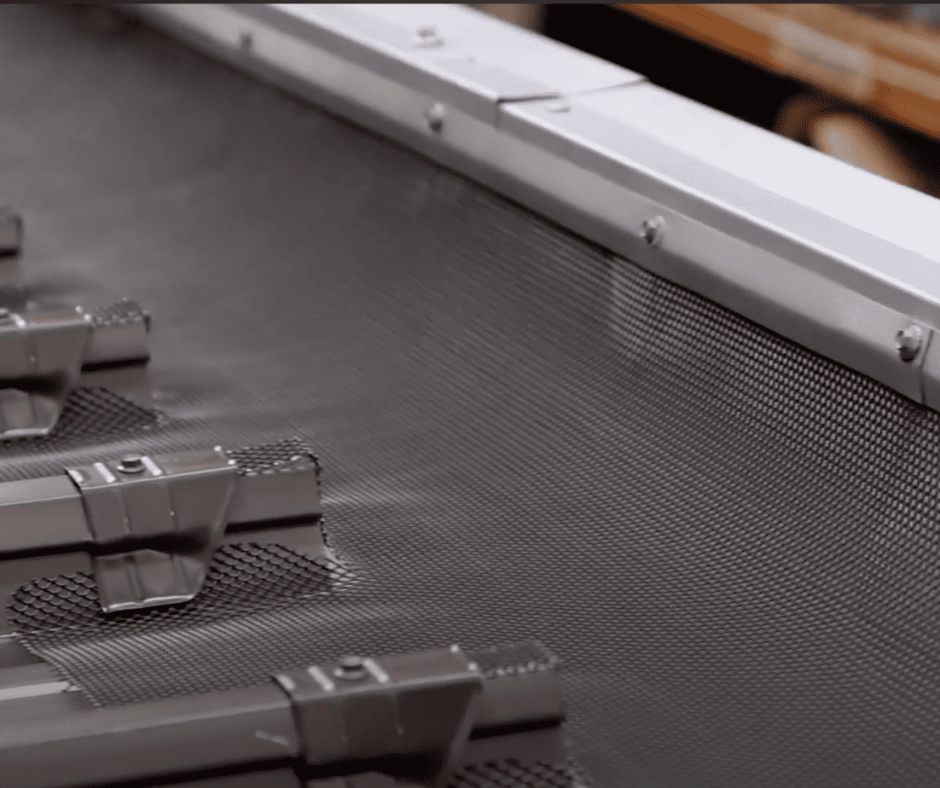
Before securing the guard in place permanently, you should first attach it securely using the pre-drilled pilot holes featured along with each trim.
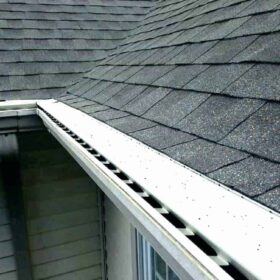
To do this, place the very first trim on the starting end of the gutter, ensuring that the mesh is all the way underneath the trim, from the roof to the gutter.
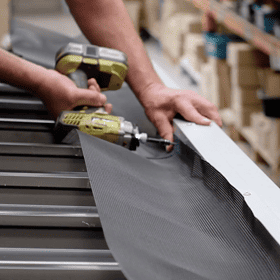
Once in position, ensure that the mesh is laid flat evenly and then screw the trims into position using self-drilling screws roughly every 250mm. Once the first trim piece is secure, move the next one into position, ensuring it aligns with the pre-drilled holes on the previous piece before you screw it into place. Continue this process until the entire gutter run is complete.
When trimming a corner section of your roof, you can cut part of the way through the trim to make it bend into shape and create a clean and secure angle.
4. Cut the mesh

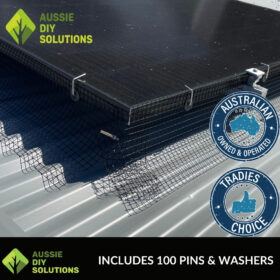
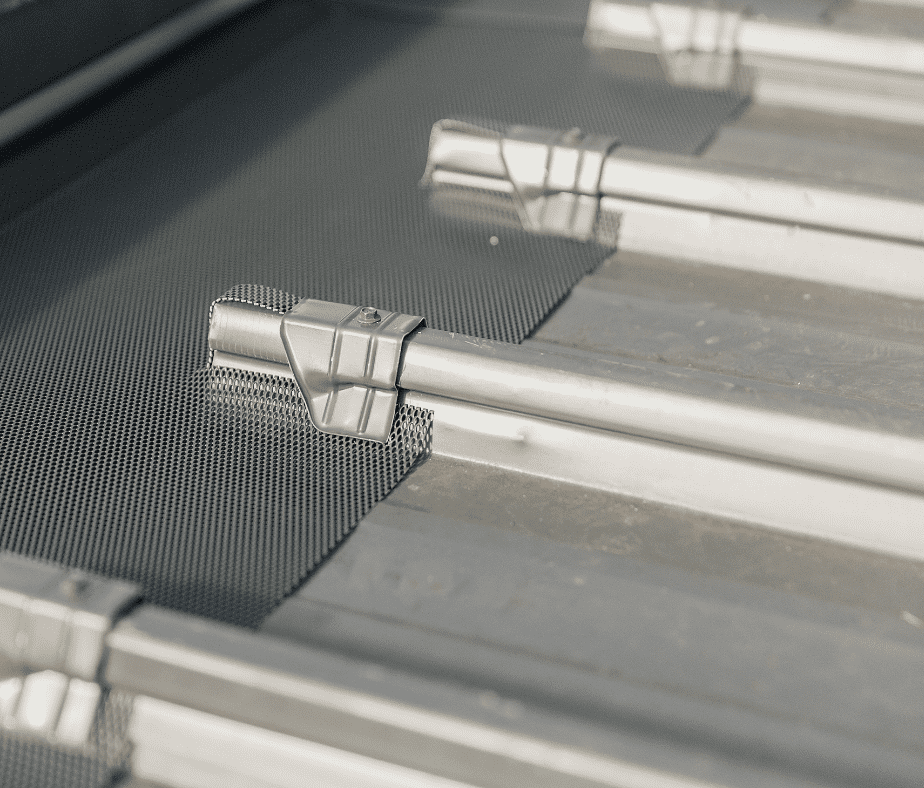
Once you have been able to put the trimming into place, you should then make two 40mm cuts into the mesh under each saddle of every second corrugation. This will help to ensure that the mesh contour is perfectly in profile with your roof, guaranteeing it provides you with the ultimate protection.
Once this has been down, place the saddle on the edge of the mesh, so that the top of it sits just above the top of the mesh itself.
5. Screw the saddles down

Screw the saddle onto the roof using screws. When doing this, you should ensure that you place some level of pressure on the saddle and drill to prevent it from slipping around and moving out of place.
This is one of the most important parts of securing your gutter guard to your roof, so take your time when positioning the saddles. This is essential to ensuring that your guard works as efficiently as possible.
Another important tip is to not over-tighten your screws, as this can lead you to strip the thread created in the roof and make it harder for you to replace them later. When you are fixing the guards to the roof, work in one-metre sections at a time, ensuring each part is secure before moving on to the next piece.
When attaching the saddles, affix the first two one metre apart before then installing one in the middle. Repeat this process with the remaining saddles until there is one on every other saddle.
6. Install ridge caps
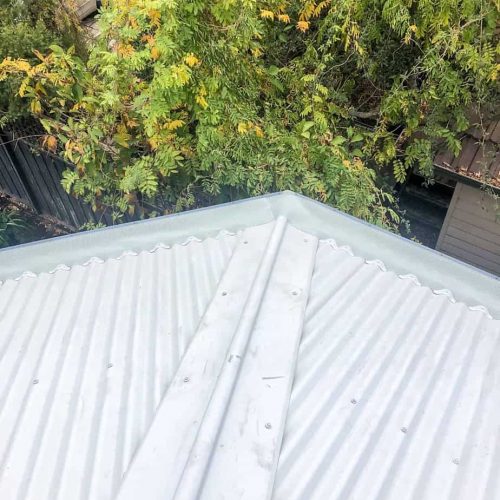
If possible, install ridge caps along the full length of your gutter guard. If this is not possible, you should neatly cut the mesh so that it fits over the roll of the ridge capping before trimming it to the other side.
Repeat this process on the opposite side of the ridge before securing it firmly in place with the screws provided.
Valleys
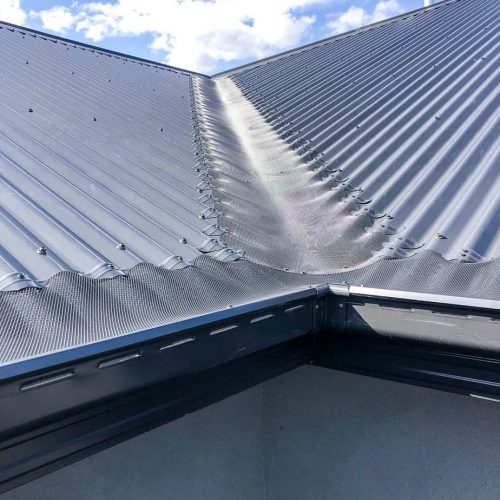
Roof valleys are one of the easiest places for debris to build up and one of the hardest to clean.
Like the gutter line, you should measure the width of the valley so you can cut the mesh to the relevant size. Typically, 330mm is the standard length so make sure that this is enough to cover the full valley and is wide enough to be safely secured with saddles.
When you are confident it is the right length, lay the mesh out from the top of the valley to the bottom, tacking it into position as needed. From there, start at the top and put a saddle on each separate corrugation of the roof, working your way down slowly before repeating the process on the other side. Some DIY enthusiasts find it easier to do a metre on each side before evening it up whilst keeping the mesh straight.
When affixing the saddles to the roof, you might need to reverse them to ensure that they fit the various contours of your roof.
With a roof valley the shape, you need to install a saddle on every corrugation as opposed to every other corrugation on a normal roof to gutter installation
-
$149.00 – $359.00Price range: $149.00 through $359.00
-
$90.00 – $369.00Price range: $90.00 through $369.00
Keep your gutter guard in top condition
Once installed, your gutter guard can protect your home and guttering system. Guards are designed to prevent debris and vermin from entering your system whilst ensuring rainwater is always able to flow through it without being obstructed; however, they are not a self-cleaning or maintenance-free solution, and you will still need to show them some care to ensure that they remain in complete working condition.
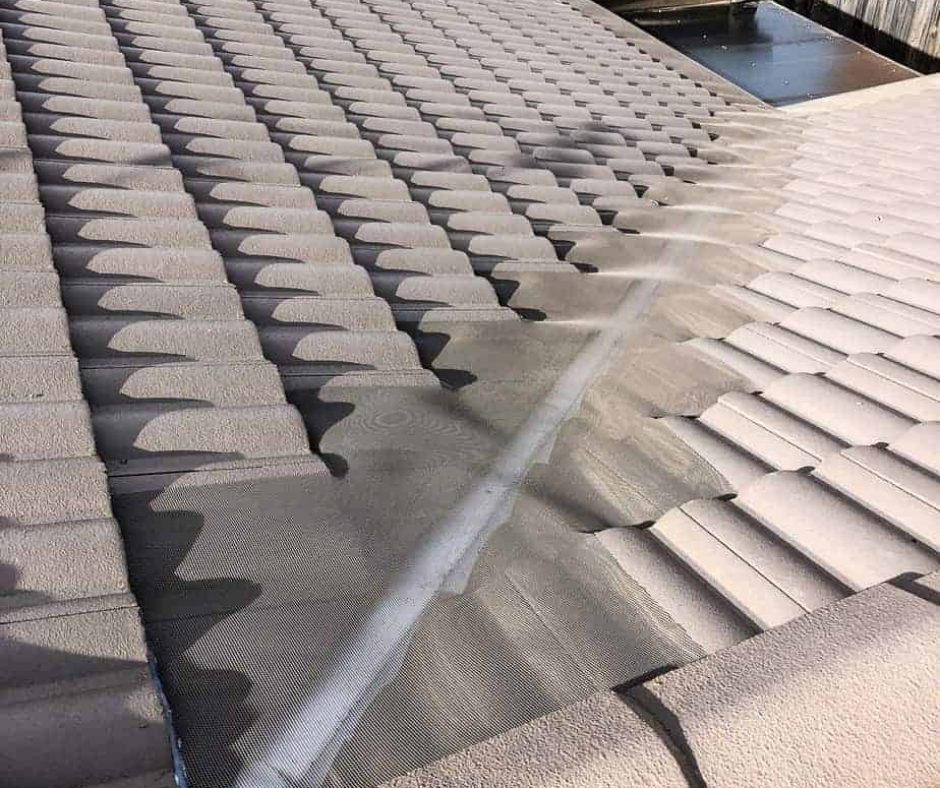
More often than not, cleaning a gutter that a well-designed and correctly fitted guard protects simply requires running a hose through the system once you have removed any debris that might be lying on top of the guard. This running water will help to flush out any small debris that has been able to find its way through the guard without needing to remove the mesh.
If you want to give your mesh gutter guard a more thorough clean, lay a drop cloth underneath to catch any falling debris and protect your property and any plants. Using your ladder, climb up so you can have a precise visual inspection of the gutter, sweeping away any debris that might have accumulated. If needed, carefully remove the guard and wipe it clean using a damp cloth before securely replacing the guard into position.
Choose the right gutter guard
Choosing the right gutter guard for the style and size of your property. An incredibly diverse range of solutions is available on the market, made from various materials and designed to suit every budget, so take the time to find the right solution.
Whilst many homeowners are put off by the initial investment required to install a gutter guard to their property, in the long-term, it can help to save significant time and money. If you are not confident about climbing a ladder or do not feel like you have the skills required to install the guards yourself, many professional installers can complete the work for you.
However, most gutter guards are designed to be installed at home by DIY enthusiasts and here at Aussie DIY Solutions, our experienced team is here to help you find the perfect guard for your property.


